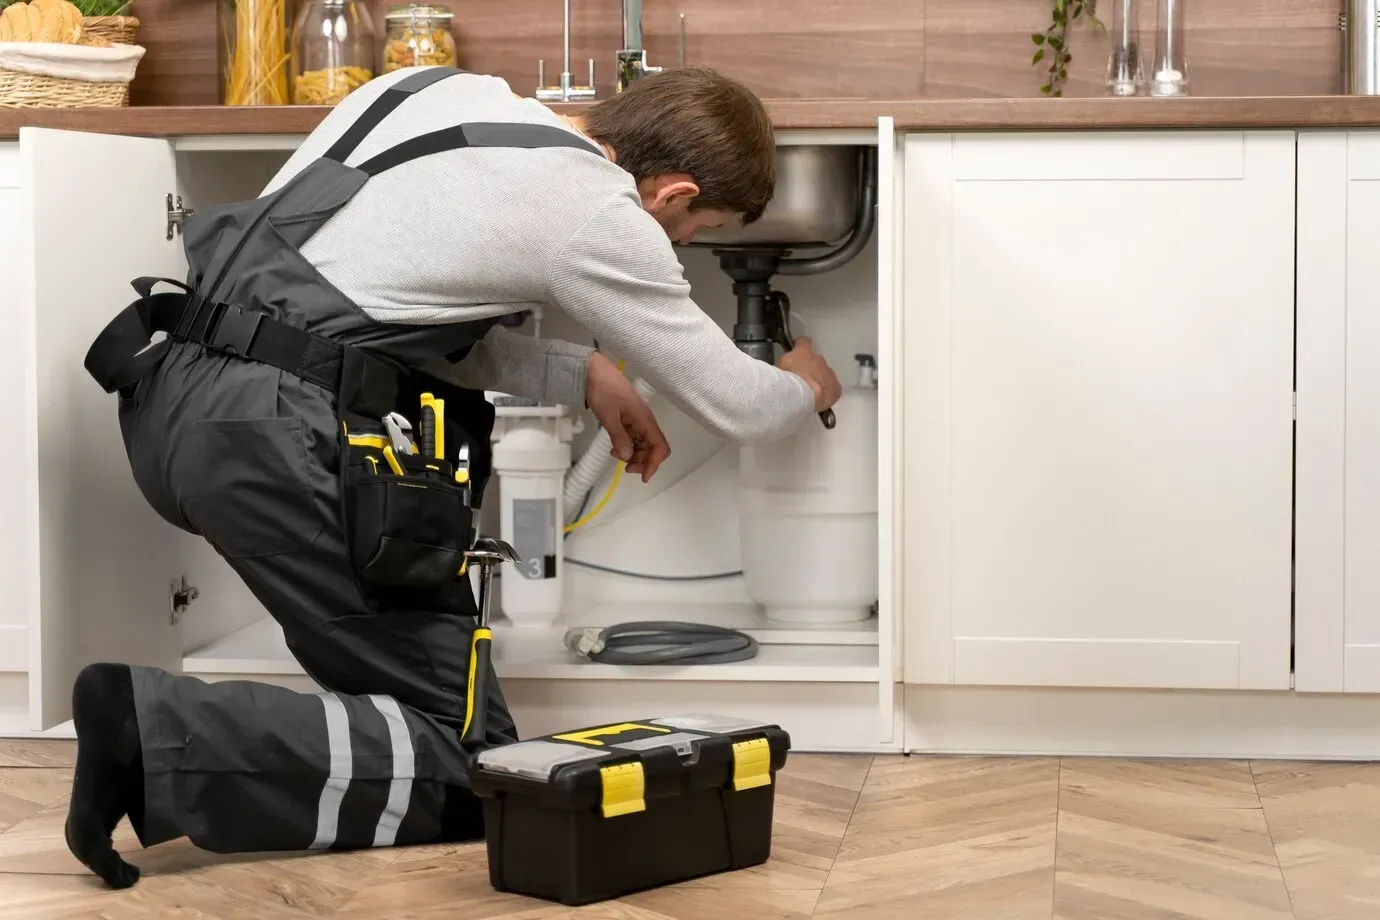
Step-by-Step Guide to Whole House Water Filter Setup
If you're concerned about the quality of your tap water,
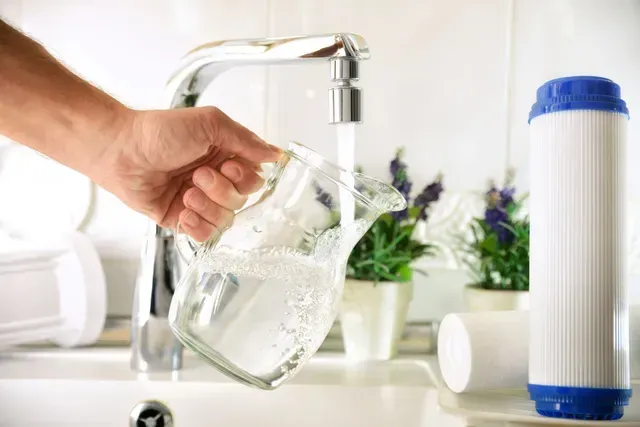
installing a whole house water filter can be a game changer. This system filters all the water entering your home, giving you peace of mind with every drop from every faucet. In this step-by-step guide, we’ll walk you through the entire process—from choosing the right filter to getting it installed—so you can enjoy clean, safe, and better-tasting water throughout your home.
Why Install a Whole House Water Filter?
Before we dive into the how-to, let's explore why a whole house water filter is a smart investment for your health and home.
Benefits of a Whole House Water Filter
- Cleaner Water at Every Tap: These systems remove contaminants like chlorine, sediments, heavy metals, pesticides, and more, ensuring better water for drinking, cooking, and bathing.
- Protect Your Plumbing and Appliances: Hard water minerals and sediment buildup can wear down water heaters, dishwashers, and washing machines. A filter keeps your plumbing system clean and efficient.
- Better for Skin and Hair: Removing chemicals like chlorine can reduce skin irritation and dryness, particularly for people with sensitivities.
- Eco-Friendly Choice: Reduce your reliance on bottled water and minimize plastic waste by treating water at the source.
Tools and Materials You’ll Need
Before you begin, gather the following tools and materials to ensure a smooth installation:
- Whole house water filter system (with mounting bracket)
- Pipe cutter or hacksaw
- Adjustable wrench
- Plumber’s tape (Teflon tape)
- Pipe fittings (usually PVC or copper)
- Shut-off valves
- Bypass valves
- Soldering tools (if copper pipes are used)
- Drill and screws
- Bucket and towels
- Marker and measuring tape
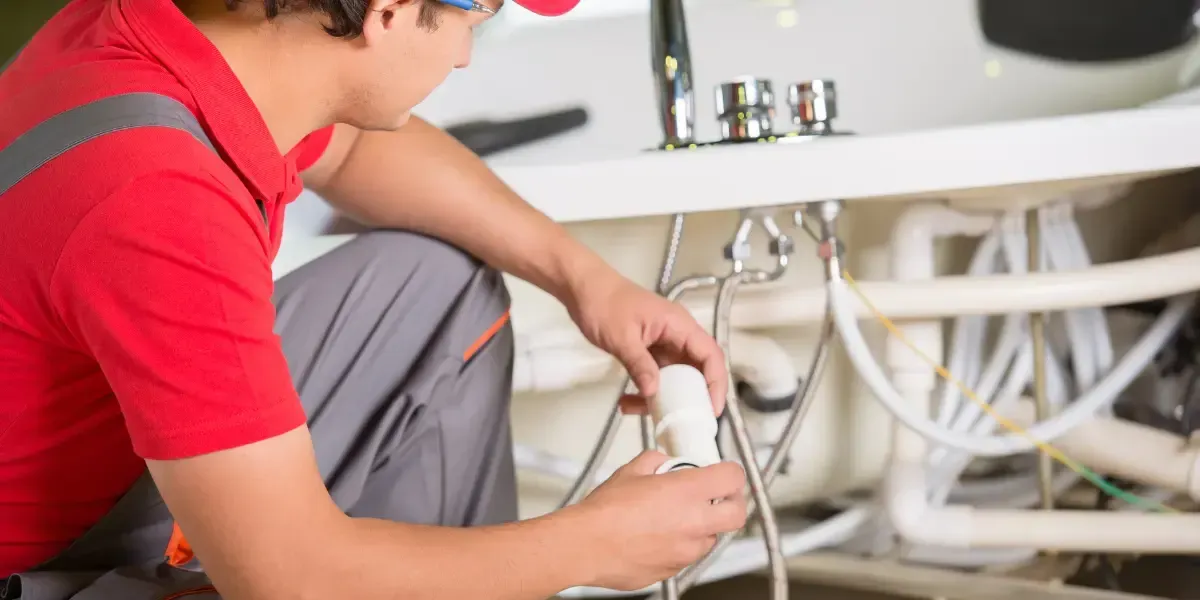
Step-by-Step Installation Instructions
1. Choose the Right Location
Install the filter as close as possible to your main water line, before it splits off to your hot water heater. Ideally, place it near a shut-off valve and in an easily accessible area like a basement or utility closet.
2. Turn Off the Main Water Supply
Shut off the water at the main valve. Open all taps in your house to drain the pipes completely. Use a bucket and towels to catch residual water in the line.
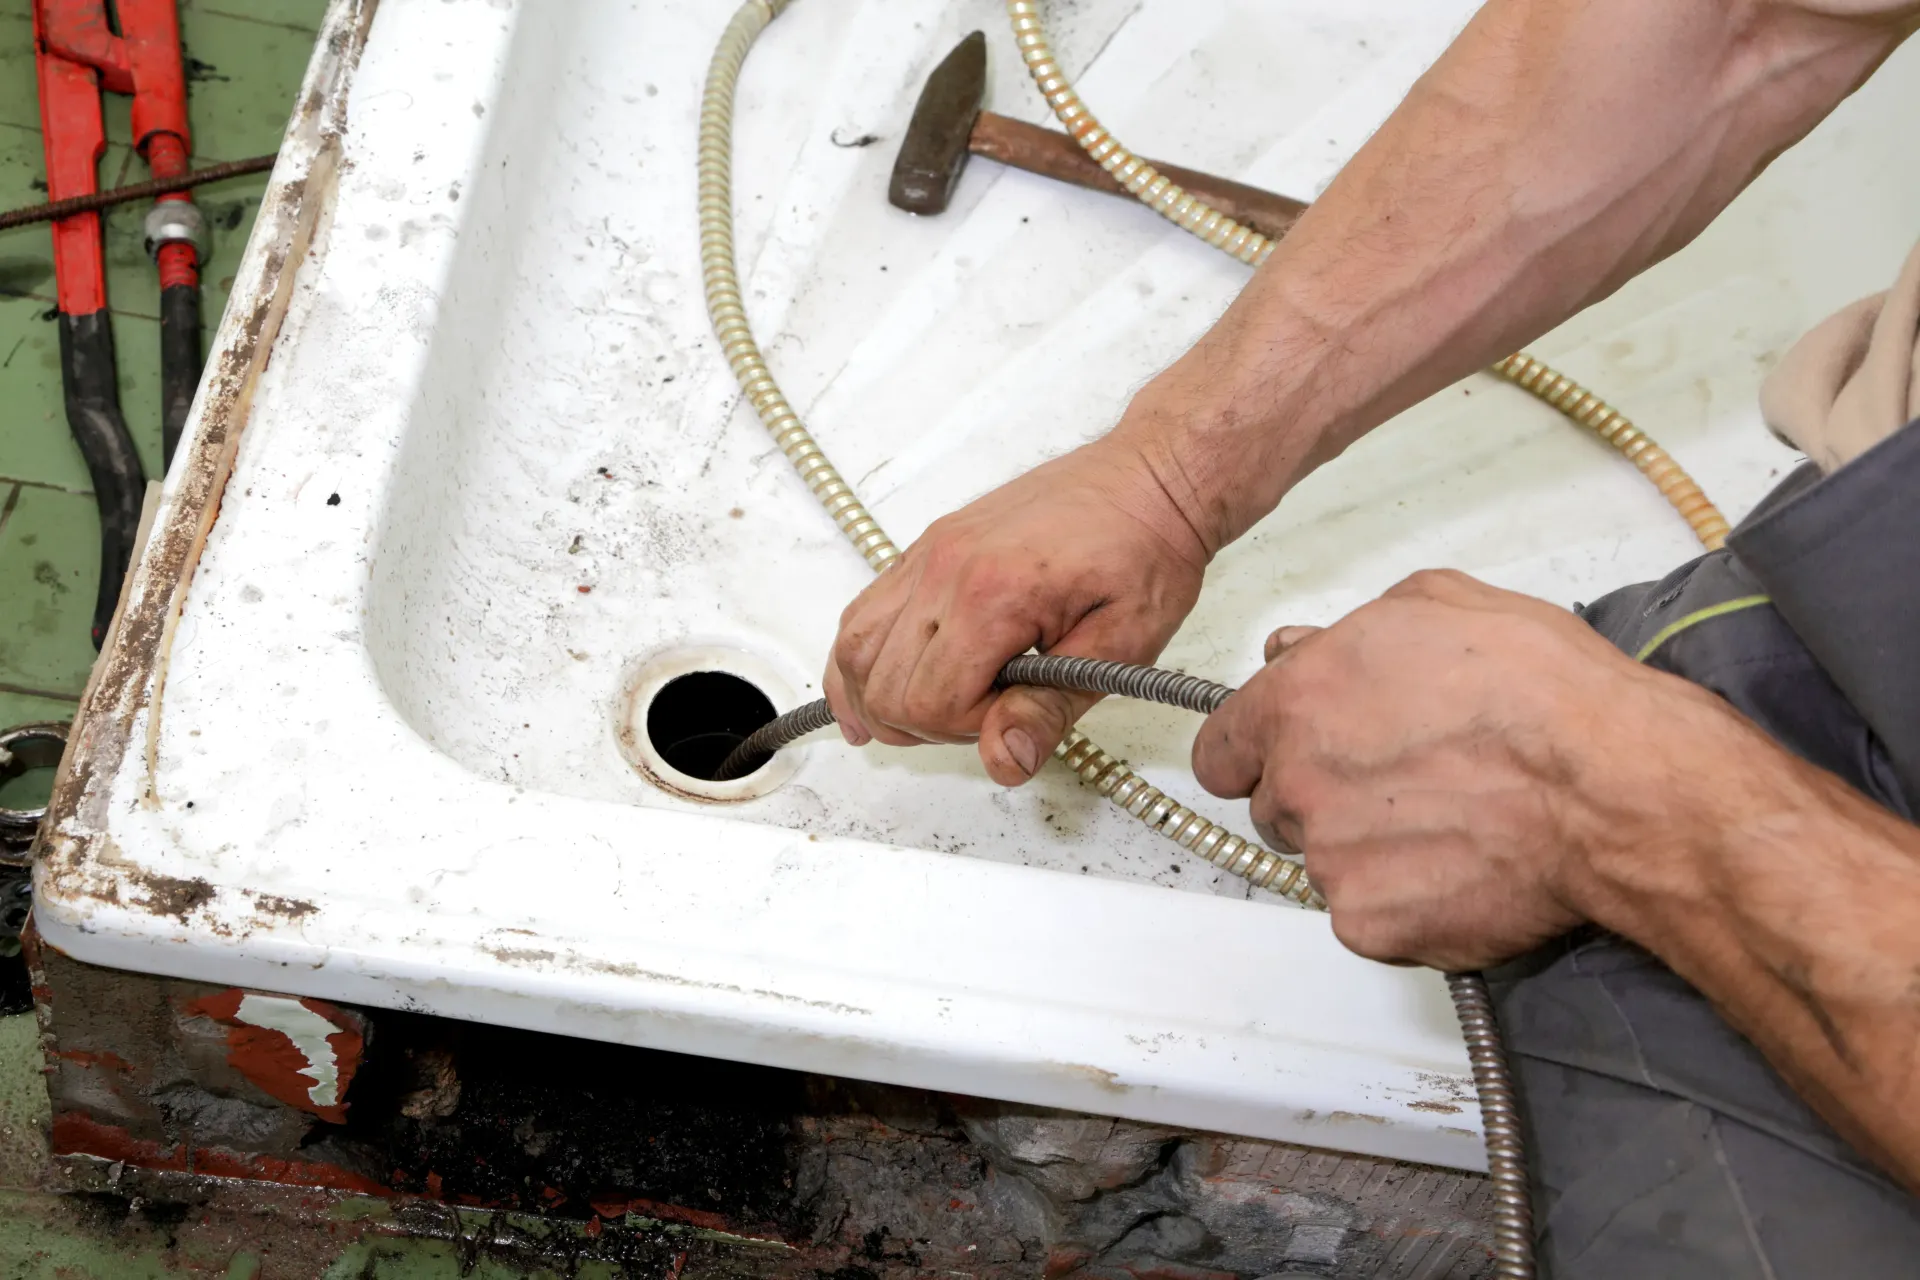
3. Mark and Cut the Pipe
Use a measuring tape to mark the section of pipe you’ll remove for the filter. Cut out this section using a pipe cutter. Make sure the cut is clean and even to avoid leaks.
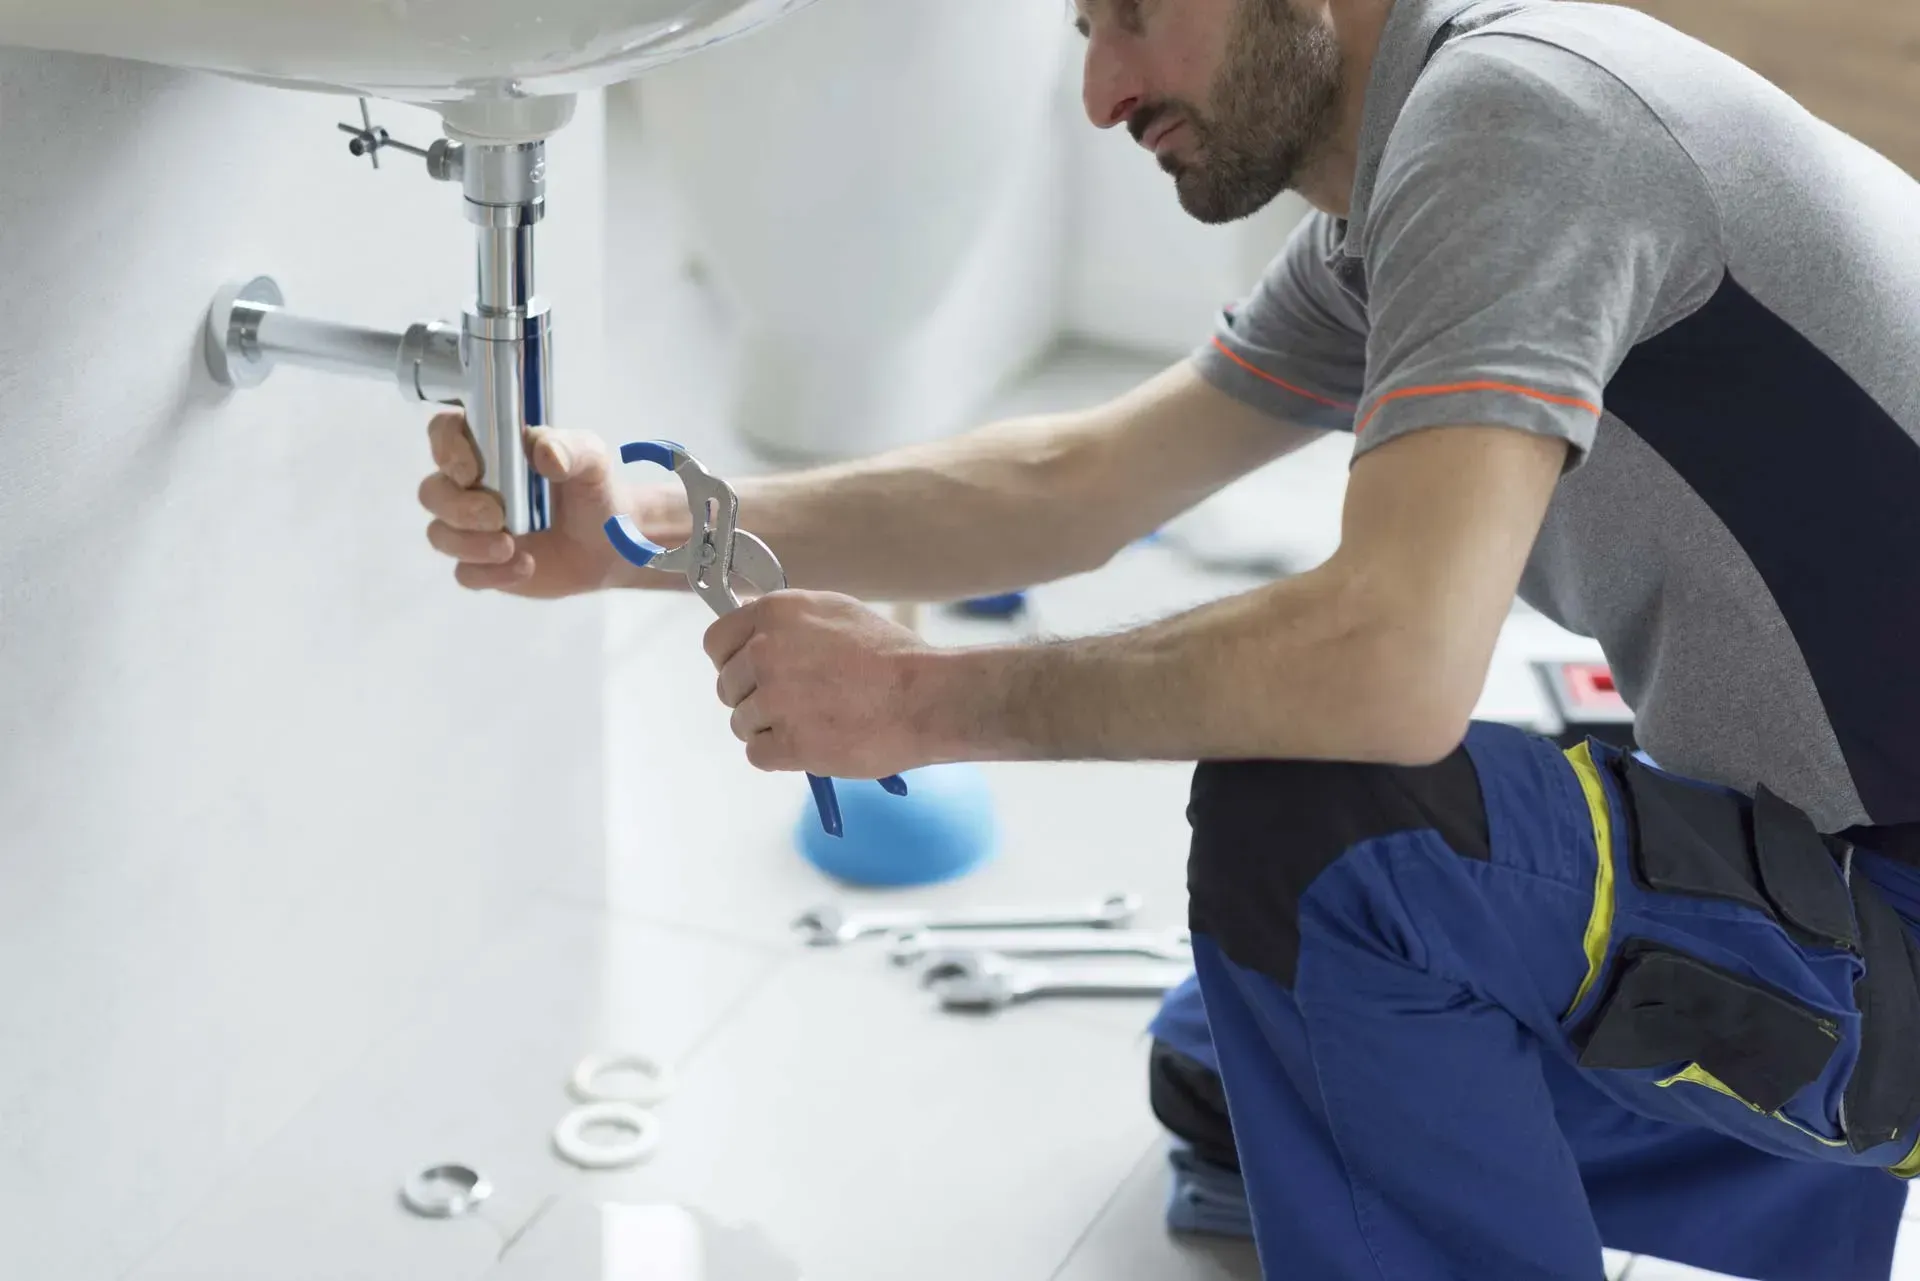
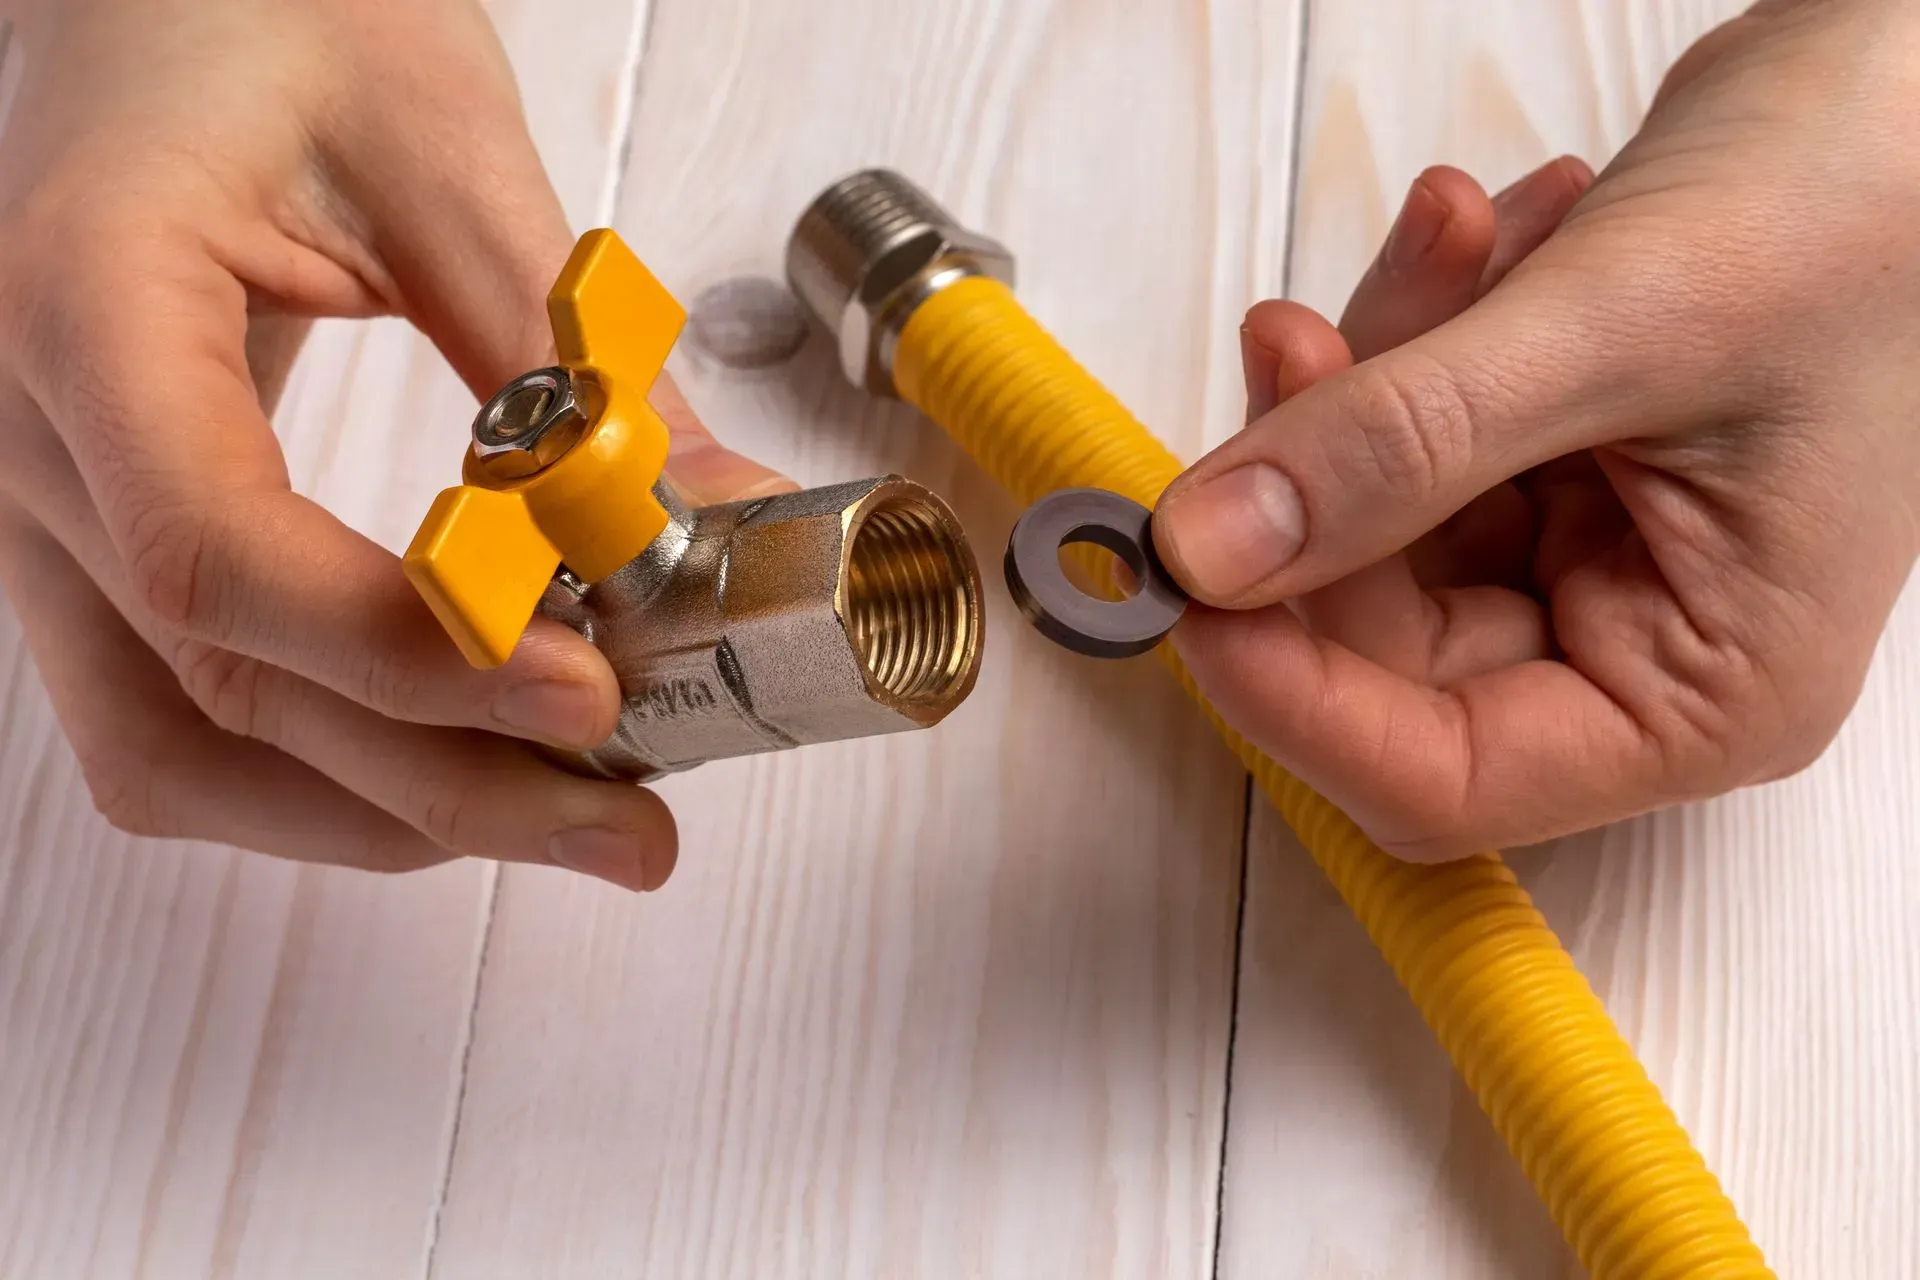
4. Install Shut-Off and Bypass Valves
This is optional but highly recommended. Installing shut-off valves on either side of the filter allows for easy maintenance. A bypass valve can help direct water around the filter if needed.
5. Mount the Filter Housing
Attach the mounting bracket to the wall. Be sure it’s level and at a height that makes changing the filter easy. Use a drill to secure it with screws.
6. Connect the Inlet and Outlet Pipes
Use Teflon tape on all threaded connections to ensure a tight seal. Connect the incoming main water line to the filter’s inlet and your home’s plumbing to the outlet. Use pipe fittings that match your system (PVC, copper, PEX, etc.).
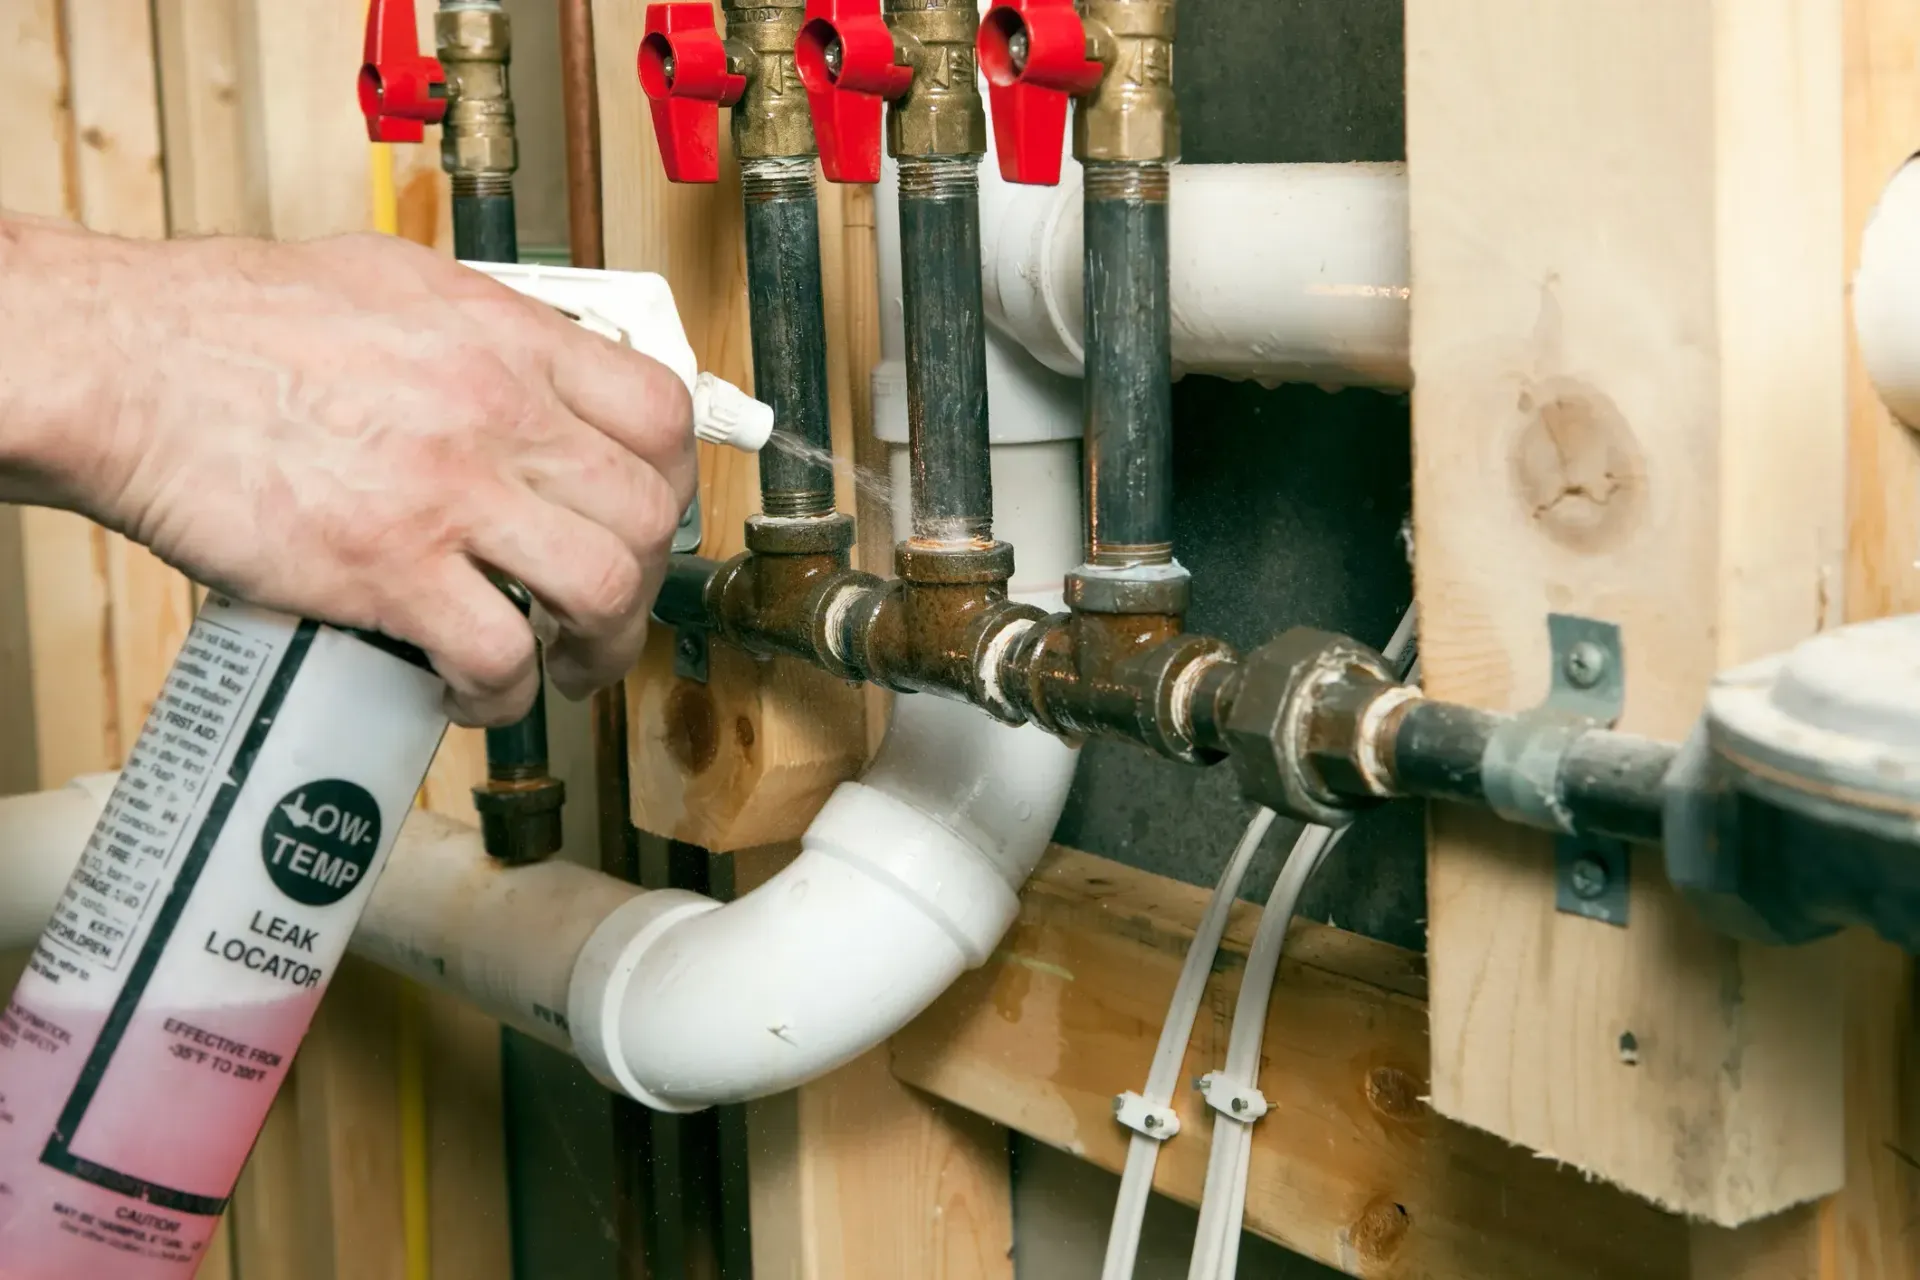
7. Check for Leaks
Once everything is connected, turn the water back on slowly while checking for leaks. Tighten connections as needed.
8. Flush the System
Run water through the system for several minutes to clear out any carbon fines or installation debris. Check the manufacturer's guide for exact flush times.
Maintenance Tips
Installing the filter is just the beginning—regular maintenance ensures your system keeps running efficiently.
- Replace Filters Regularly: Most whole house filters need replacing every 3–6 months, depending on your water usage and quality.
- Check Water Pressure: If pressure drops noticeably, it might be time to replace the filter or clean out sediment.
- Inspect for Leaks: Periodically inspect all valves and joints for signs of dripping or corrosion.
- Sanitize the Housing: Once a year, clean the filter housing with a diluted bleach solution before inserting a new filter.
How White Oak Plumbing Can Help You
While DIY installation is an option for experienced homeowners, professional installation ensures everything is done safely and up to code. That’s where White Oak Plumbing comes in.
Why You Should Choose White Oak Plumbing
- Local Experts: As a trusted plumbing service in Vancouver, WA, we understand local water issues and provide customized solutions.
- Licensed and Insured Technicians: You can rest easy knowing your installation is handled by certified professionals.
- All-Inclusive Services: From selecting the right filter system to routine maintenance, we cover every aspect of your water filtration needs.
- Emergency Support: We’re here when you need us, with fast response times and quality service.
- Satisfaction Guarantee: Our job isn’t finished until you’re 100% happy with your water quality and system performance.
Don’t take chances with your home's water—get the job done right with
White Oak Plumbing.
Conclusion
Installing a whole-house water filter is one of the smartest upgrades you can make for your home. By improving your water supply, you can protect your family’s health, extend the life of your appliances, and enhance your overall quality of life.
While the process can be DIY for some, the safest, fastest, and most reliable option is professional installation by a local expert. If you're in Vancouver, WA, or the surrounding area, White Oak Plumbing is ready to help. From system selection to ongoing maintenance, we make the process simple and stress-free.
Contact White Oak Plumbing today to schedule your whole-house
water filter installation. Then, you can enjoy cleaner, healthier water tomorrow.
Frequently Asked Questions
Can I install a whole house water filter myself?
Yes, if you have experience with plumbing tools and systems. However, hiring a licensed plumber ensures the installation meets code and minimizes the risk of leaks or system failure.
How much does a whole house water filter cost to inst
Costs vary depending on the system and complexity, but you can expect to spend between $400 and $1,000 for parts and labor. Professional installation may be more for larger homes.
How long does a filter last?
Most filters last between 3–6 months. Some high-capacity systems may last up to a year. Always follow the manufacturer’s recommendations.
Will a whole house filter reduce water pressure?
A properly sized and installed filter should not noticeably reduce pressure. If you do experience issues, it could be a sign of a clogged filter.
What contaminants are removed by a whole house filter?
Whole house filters typically remove sediment, chlorine, iron, manganese, and some heavy metals. You can also choose specialized cartridges for more targeted filtration.